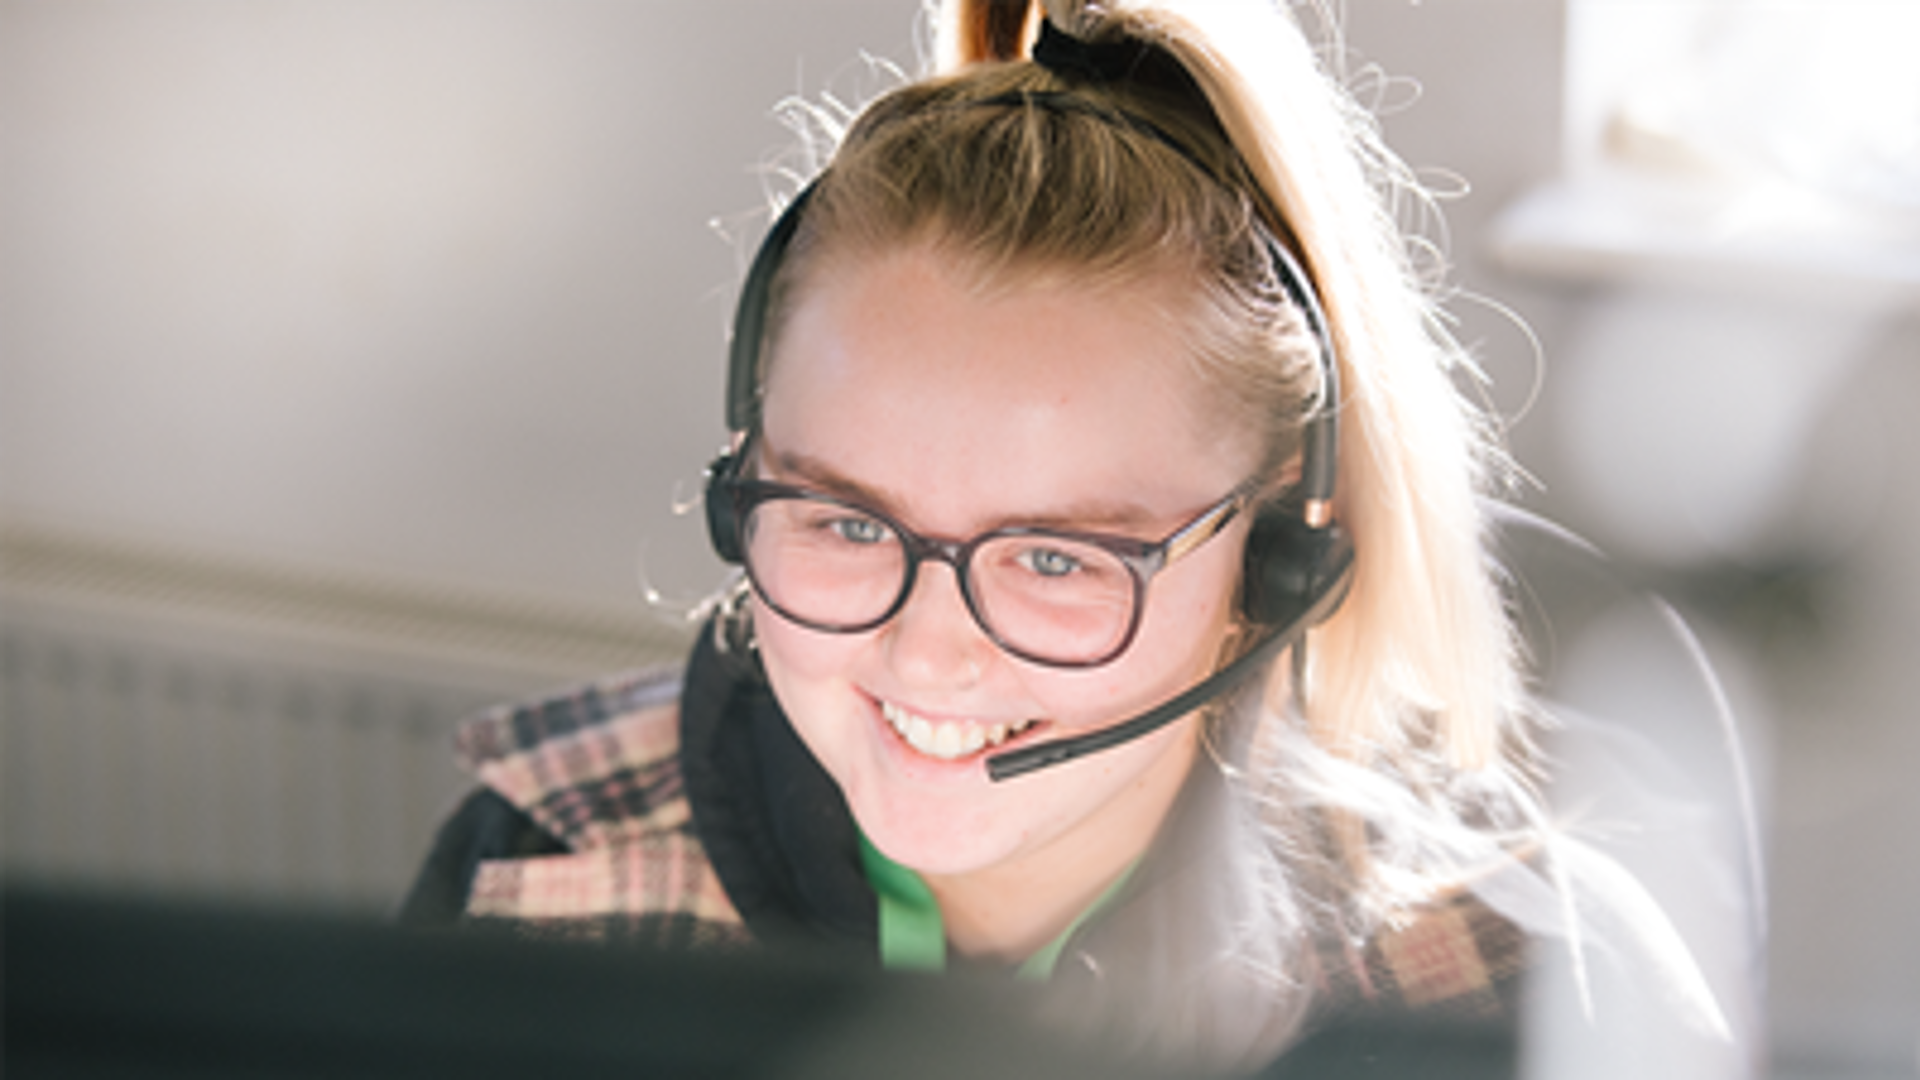
Contact the NSPCC Helpline
You can contact our Helpline by calling 0808 800 5000.
Our voice Helpline is available 10am to 4pm Monday to Friday. Please be aware that our email service will be closed between 17 July and 26 July.
If we have not yet responded to you and your concerns for the safety of a child increase, please contact the police or local Children’s Services directly. Please be assured that we'll action all contacts that our Helpline receives.

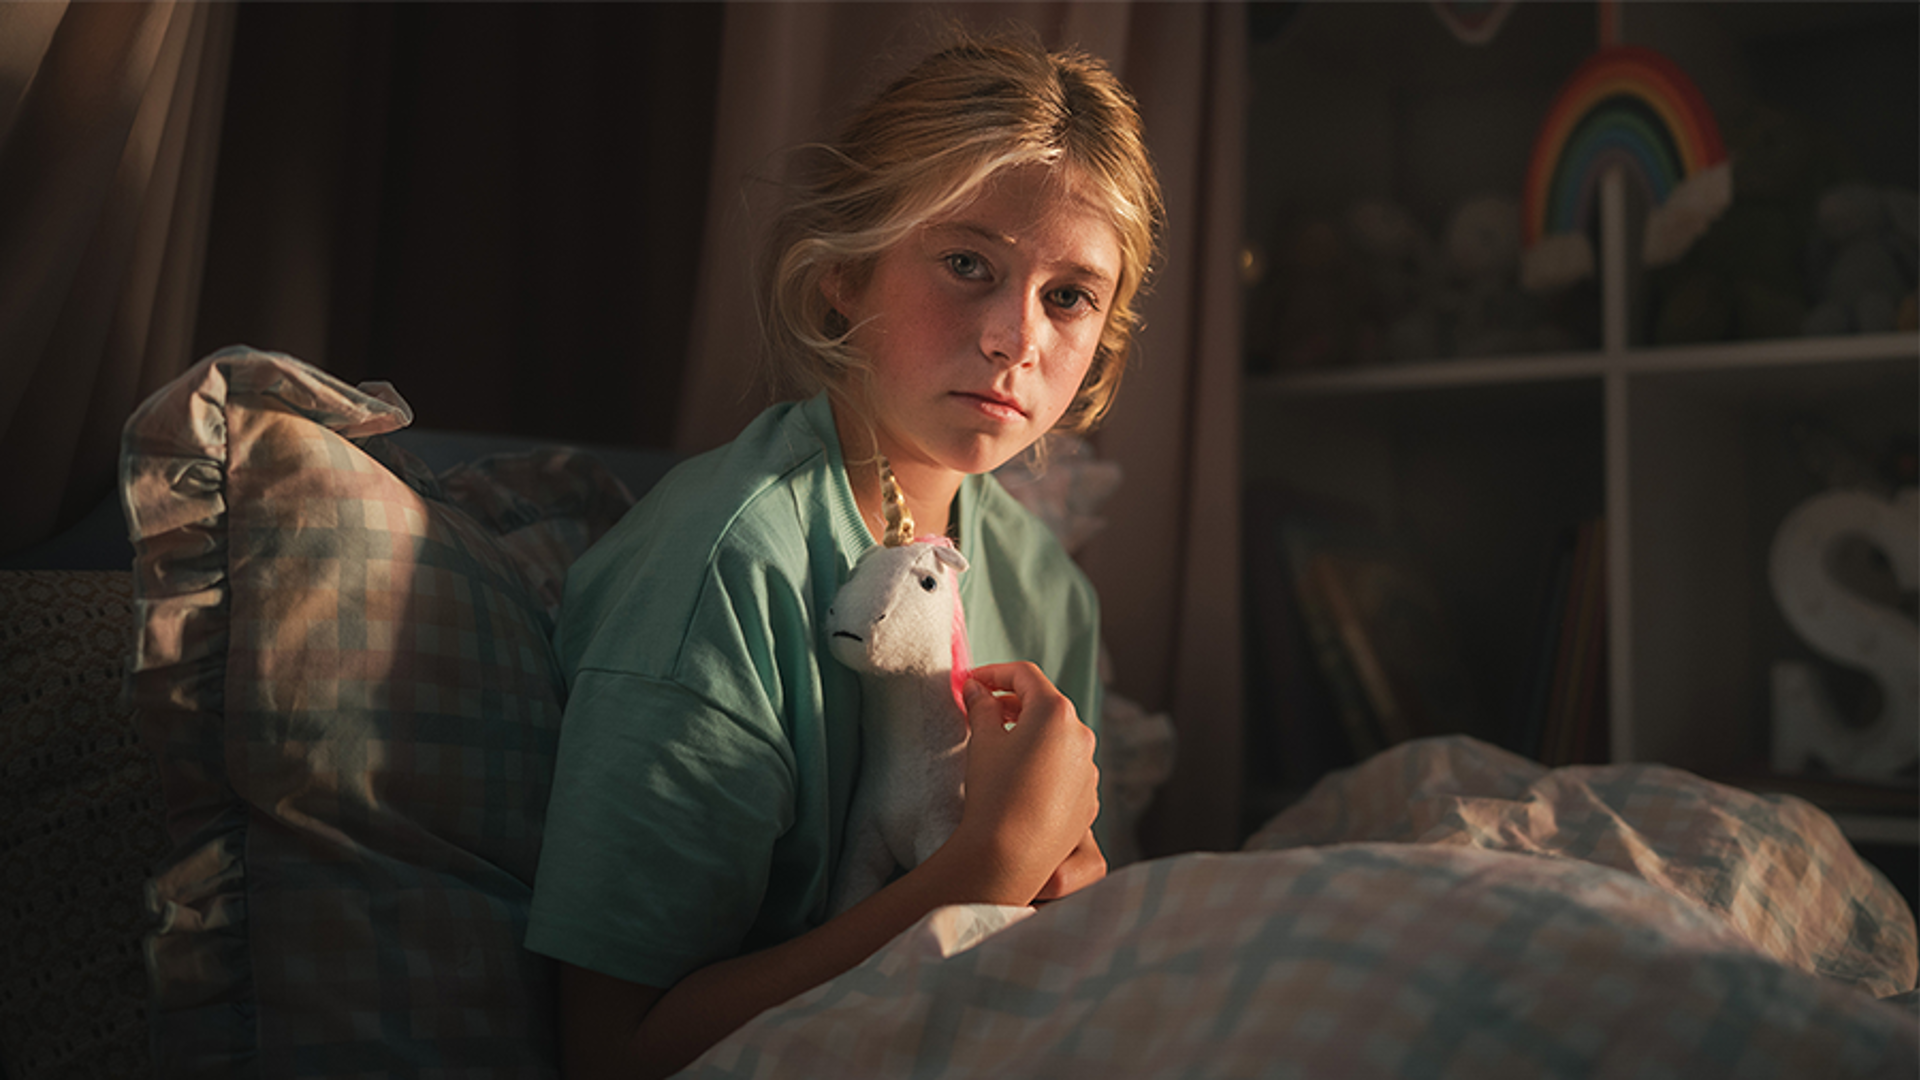
Under 18?
Childline offers free, confidential advice and support whatever your worry, whenever you need help.
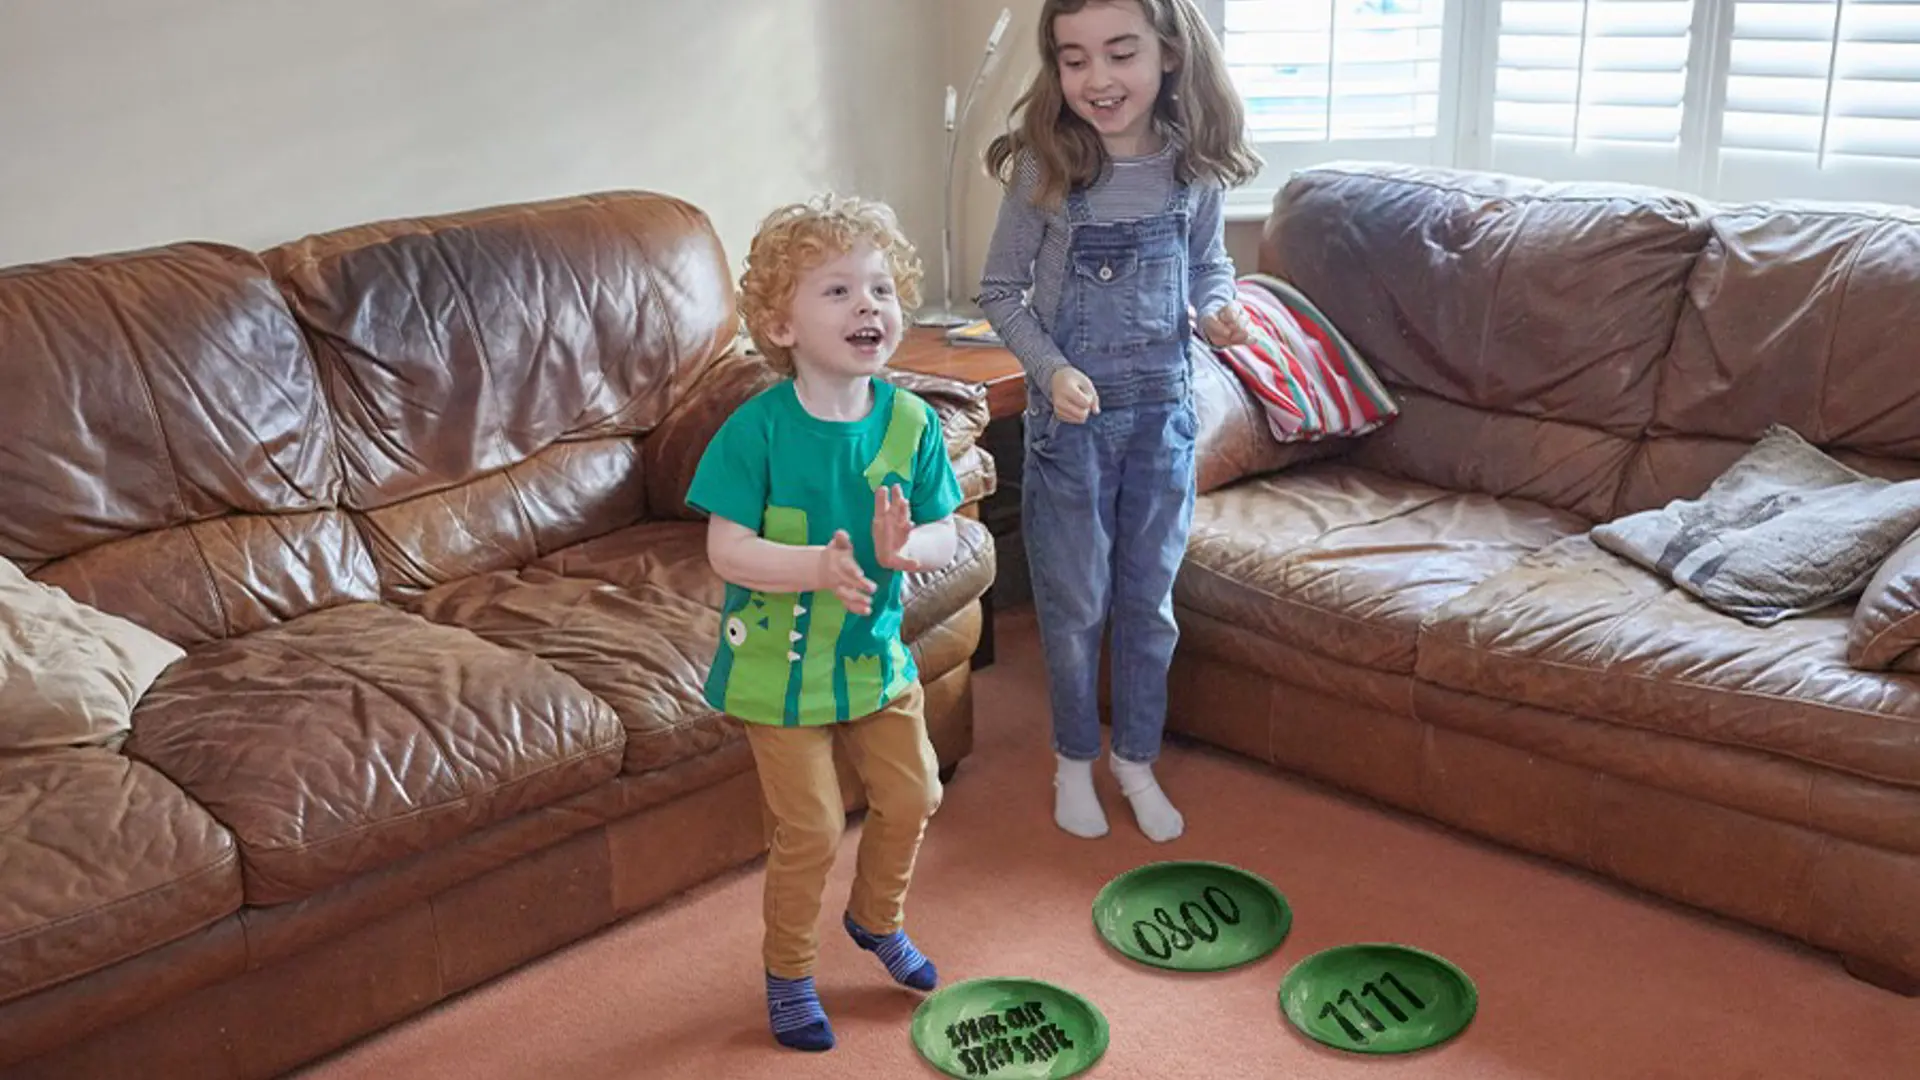
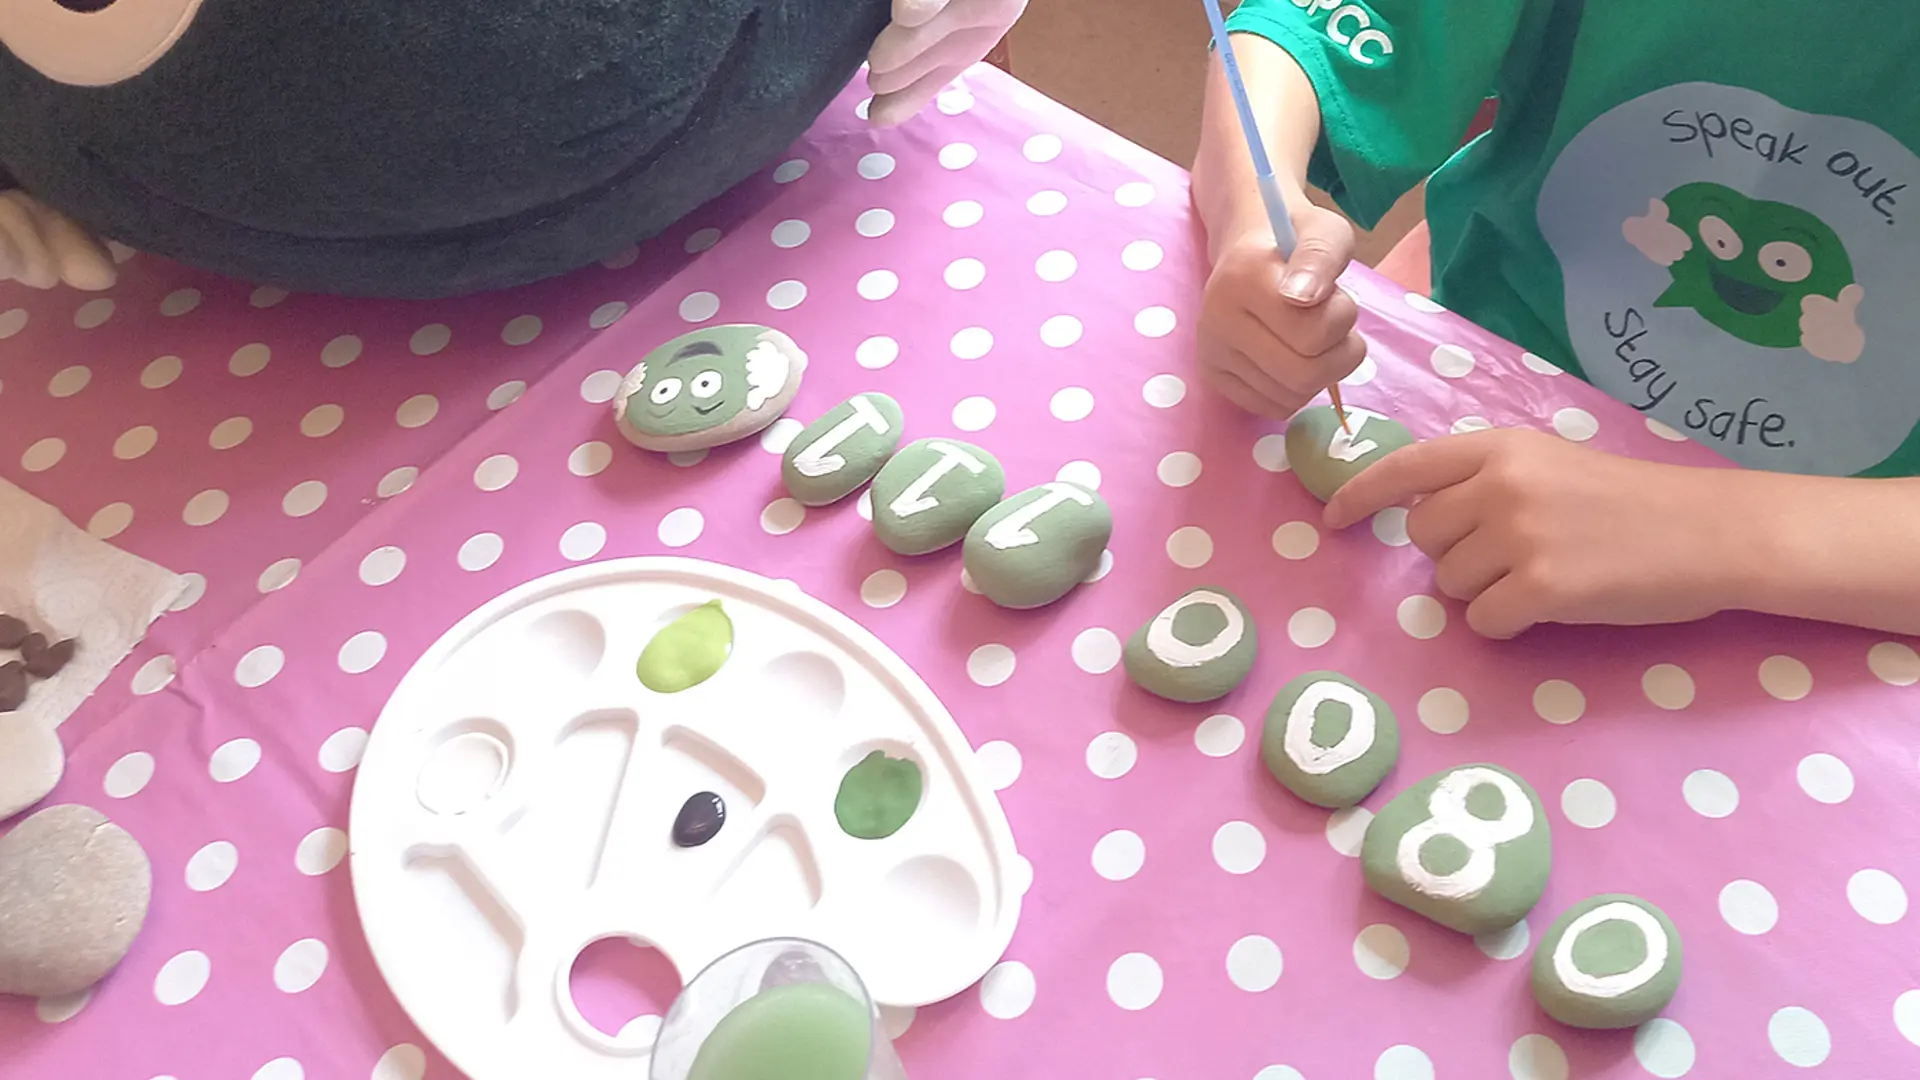
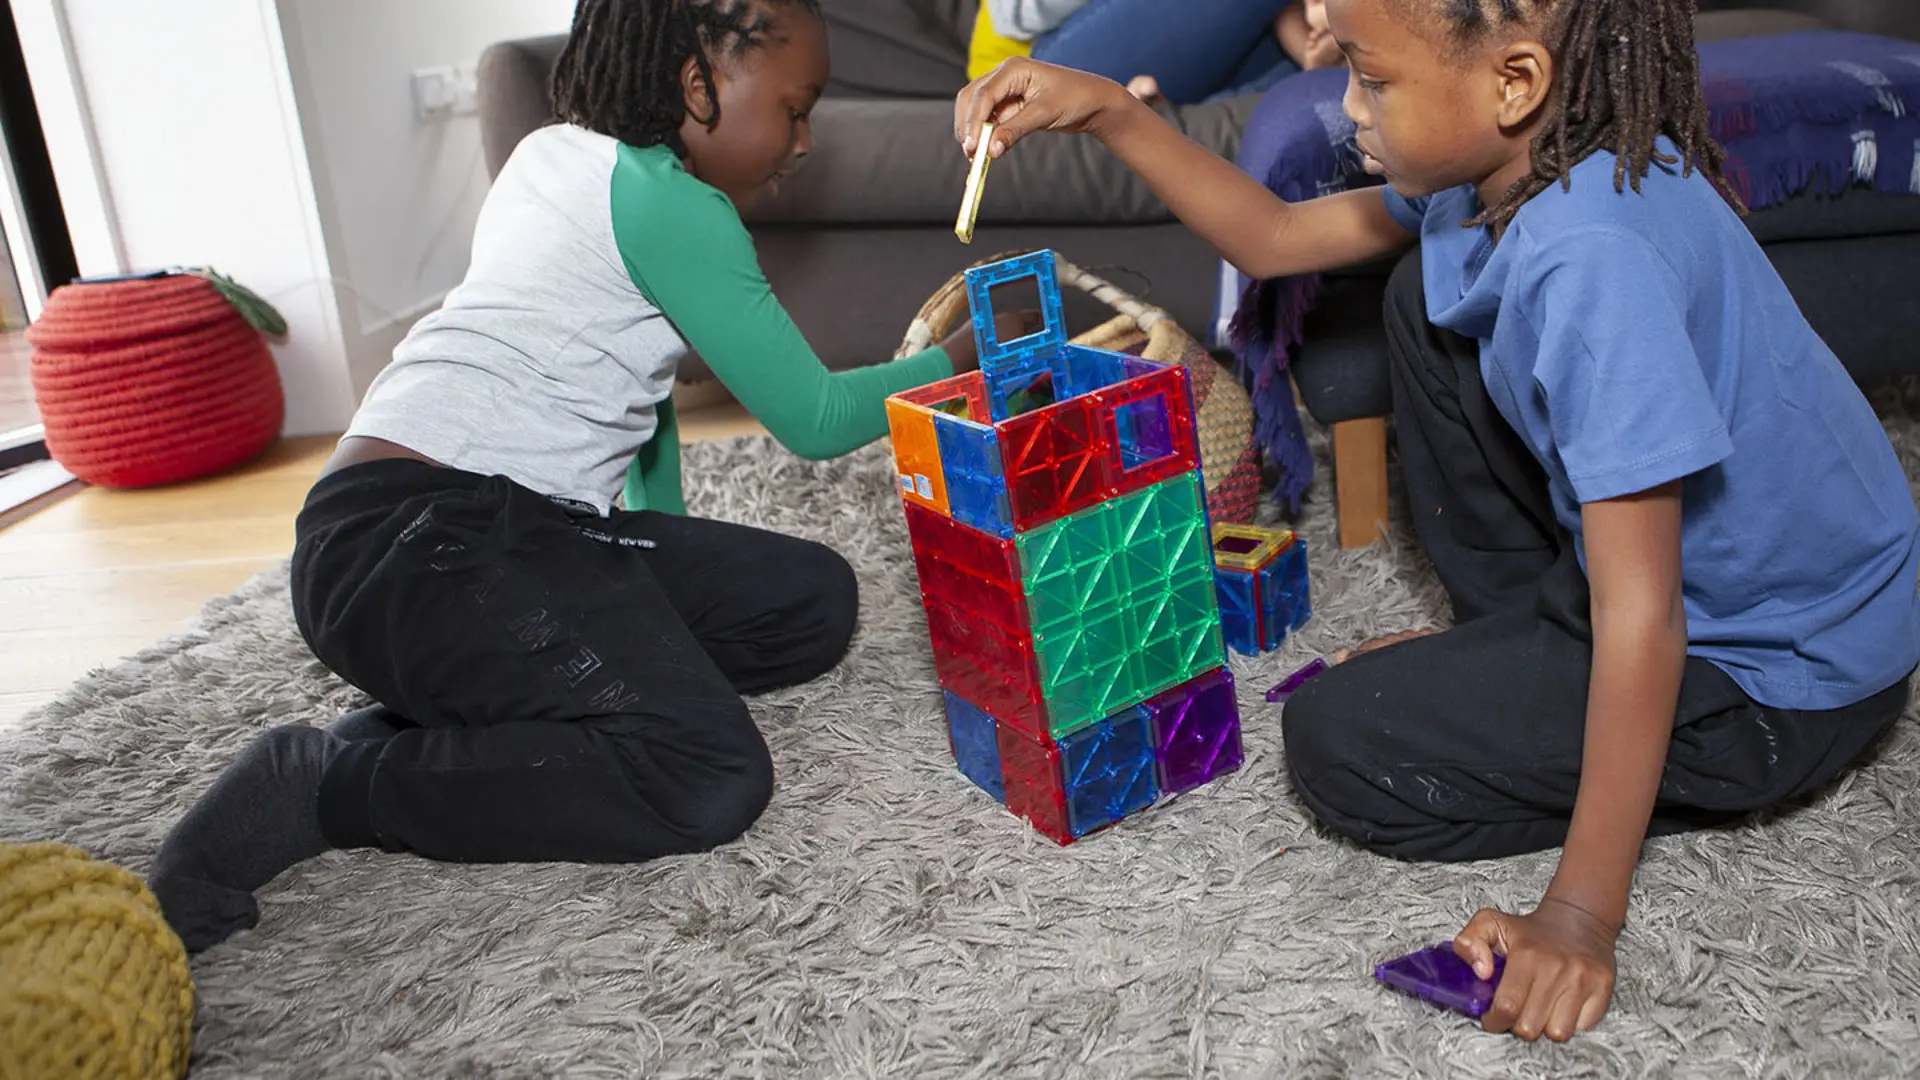
Fun at-home activities
Help kids learn and remember that:
- Every child has the right to speak out and stay safe.
- Making a child feel sad, scared or worried is never OK and is never their fault.
- If they’re ever worried about anything they should tell an adult they trust.
- Whatever their worry, they can always call Childline on 0800 1111 or visit childline.org.uk/kids.
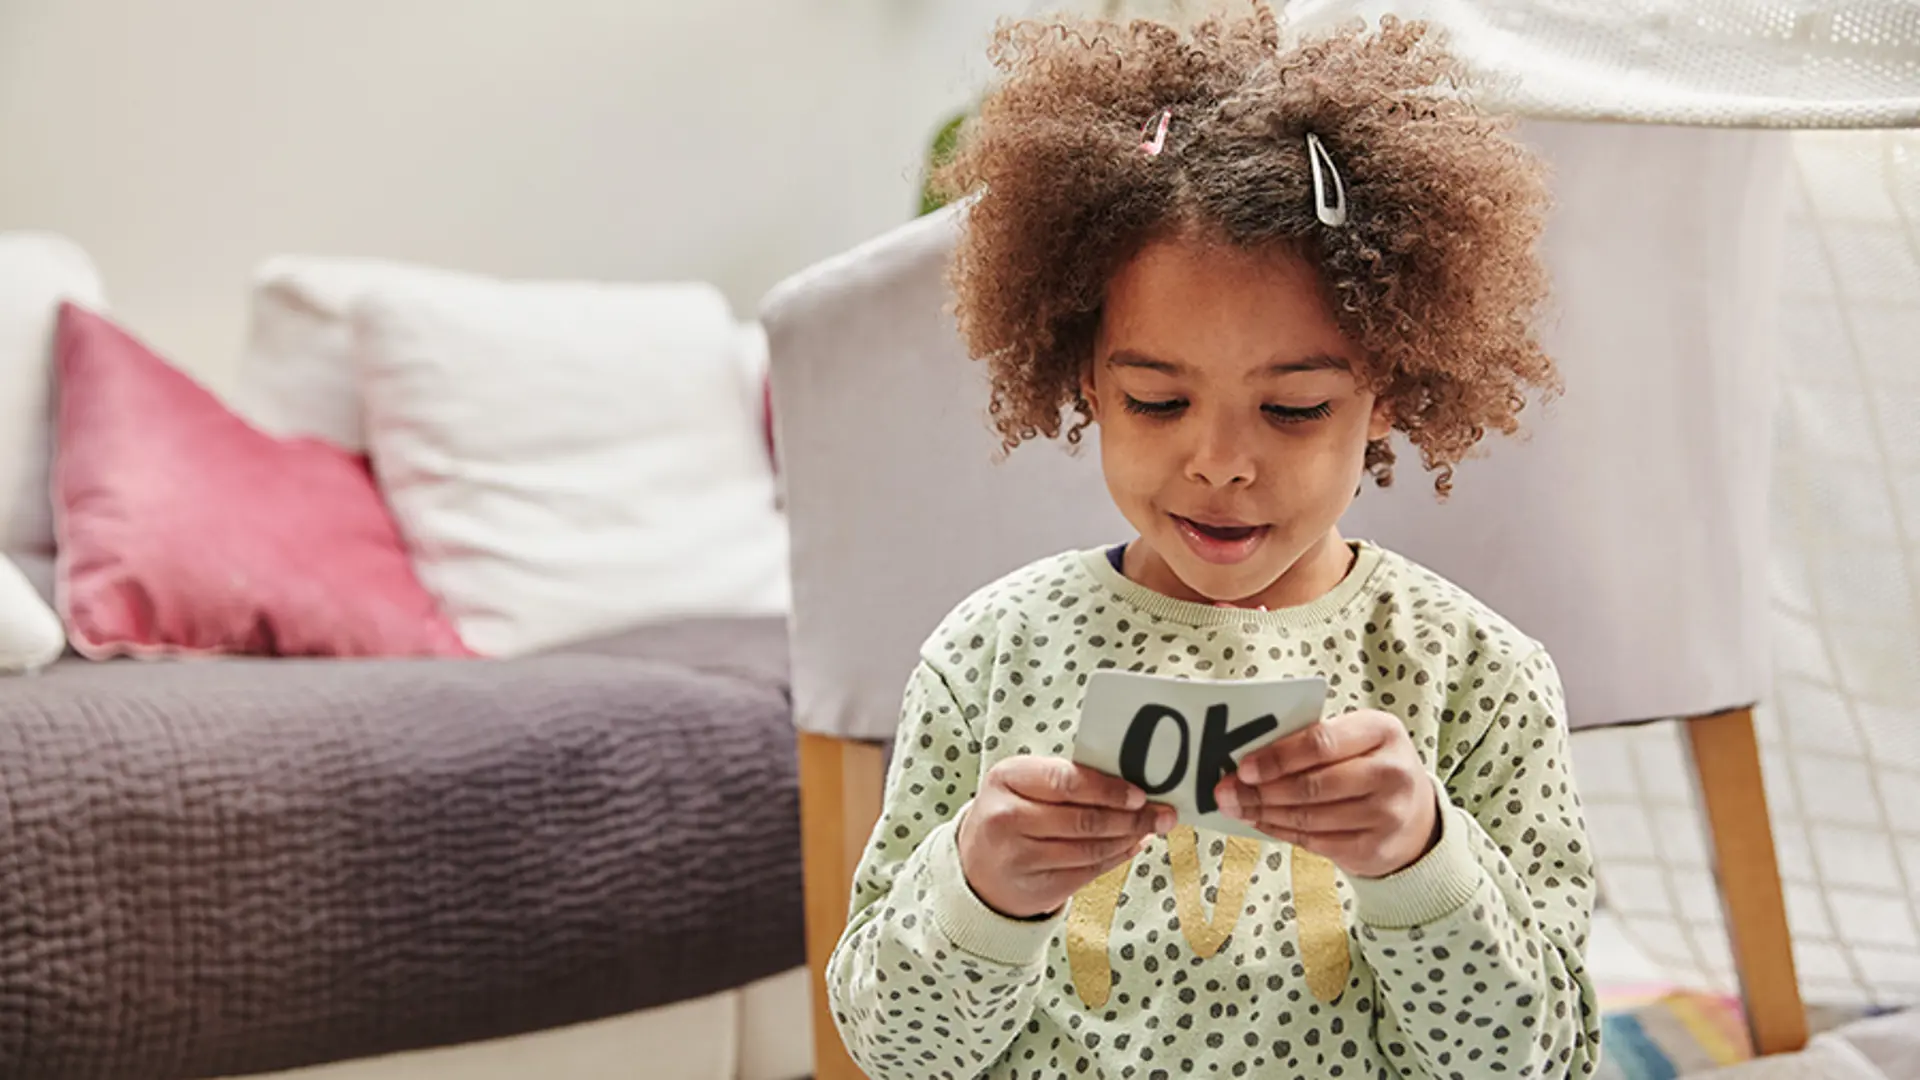
Tips for talking to children about safety

- Allow them space to speak and explore.
- Ask open questions about how they feel. You could ask:
- How did you feel during this activity?
- What did you think of the activity? Why?
- What part of the activity do you think is the most important?
- Which adults do you trust and feel comfortable talking about your worries with?
- What could you do if you’re worried about something?
- Feel free to share your own thoughts with them too – this can help them feel more comfortable sharing.
- Make sure your child knows you’re listening and that you’re there for them.
- Ensure you respond appropriately if a child tells you they’ve been hurt.
Resources and support for parents, carers and kids
We have lots of advice for parents and carers to help with anything that might be worrying you. You can also call our helpline if you have any questions or need any support.
- Get useful resources and advice about a range of topics from our support for parents hub.
- Join the 1.5 million parents who have started important conversations about sexual abuse with their kids using Talk PANTS, the Underwear Rule.
- Visit our Online Safety Hub for advice and information on a range of different online safety topics, including gaming, social media, sharing nudes, parental controles and more.
Childline is always here for children – whatever their worry. Your child can always contact a Childline counsellor on the phone, online with 1-2-1 chat or by email. The Childline website has lots of useful, age-appropriate resources they can use for support:
- Find out about contacting Childline - or watch our video about what happens when you call.
- There are also lots of ways for deaf, Deaf and hard of hearing children can get support from Childline.
- Get advice written specially for Under 12s about anything that might be worrying them.
- Visit our Buddy Zone for more safety advice.
- Playing Childline’s games is a safe way to relax and play online.
- Bust stress and feel calmer with Childline’s Build your happy place.